Who loves BURLAP?!?? I do, I do!! "BURLAP and Bananas"?! I think it's a dead giveaway that I'm what you would call, "burlap obsessed"! SO, I created this adorable little bags, to hold the "Hand-Painted Wood Bead Necklaces" I made, for all the awesome "mamas" in my life! Below, you will find my tutorial for these "No-Sew Burlap Gift Bags.
- Burlap
- Twine or Ribbon for your drawstring
- Fabric for your "Heart"
Keep in mind, you will be folding this piece of fabric in half, so cut your burlap accordingly. Get your twine, and place like so.
Take your burlap and fold OVER the twine and glue, making sure not to glue your twine to the burlap. Keep doing this until its completely glued, checking your "drawstring" every so often.
Now, flip over your piece of burlap. This is important, because after the bag is finished, you will fold it inside out. You want this seam to be on the INSIDE of the finished product.
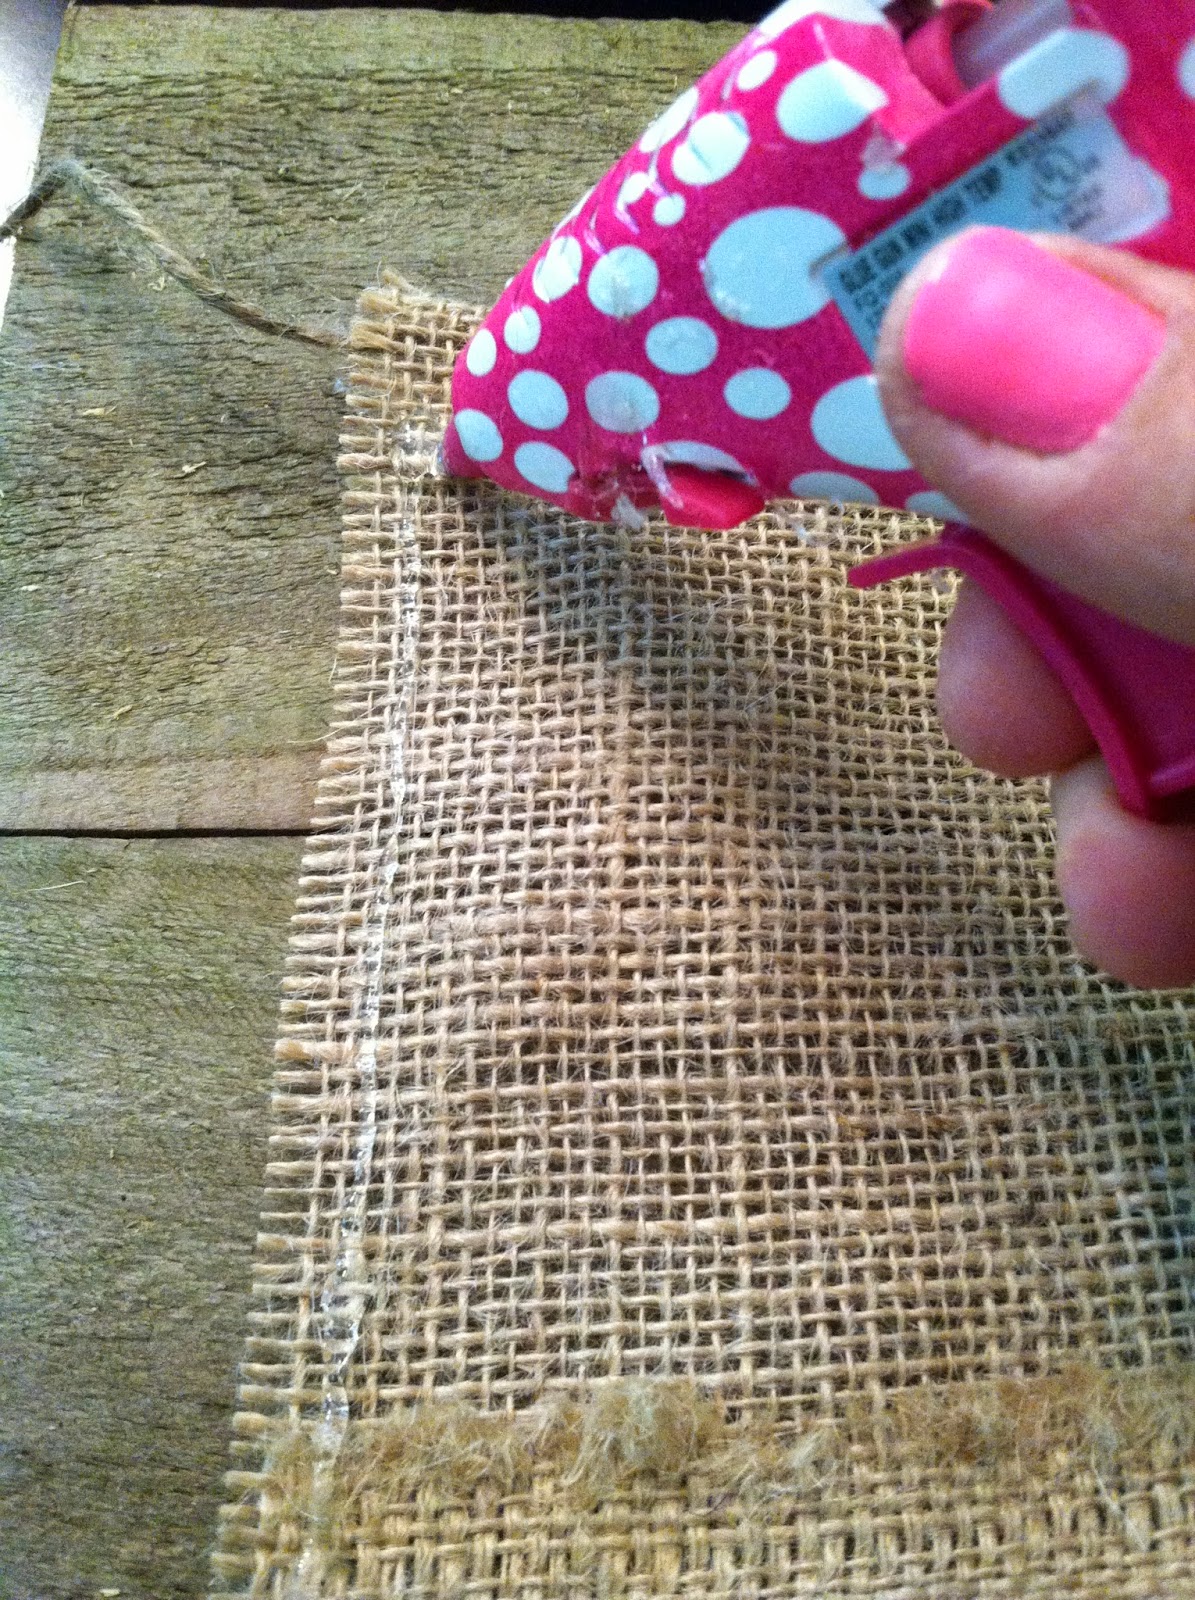
Once you have flipped the burlap, start gluing down one side, starting directly UNDER the seam of your drawstring. Fold over, to attach to the other side.
Now glue the bottom of bag.
Almost done! Fold this inside-out.
Now cut out your heart using your fabric of choice and now you have your super cute bag!
How fabulous are these? I hope my tutorial helps you make some of these for yourself and for gifts, I know I would love to receive one of these;) They make such a cute presentation, especially for my DIY Wood Bead Necklaces...to get the details on how to make your very own, click HERE. What other ideas do you have to embellish your burlap bags? Maybe some lace, or patterned ribbon?
Toodles!


No comments:
Post a Comment